If you’d like to allow users to login/register with their social profiles you’ll need to set this up, follow the steps below along with the plugins full documentation.
1. Plugin Installation
- Go into Admin > Appearance > Install Plugins
- Find “miniOrange Social Login”
- Install & Activate
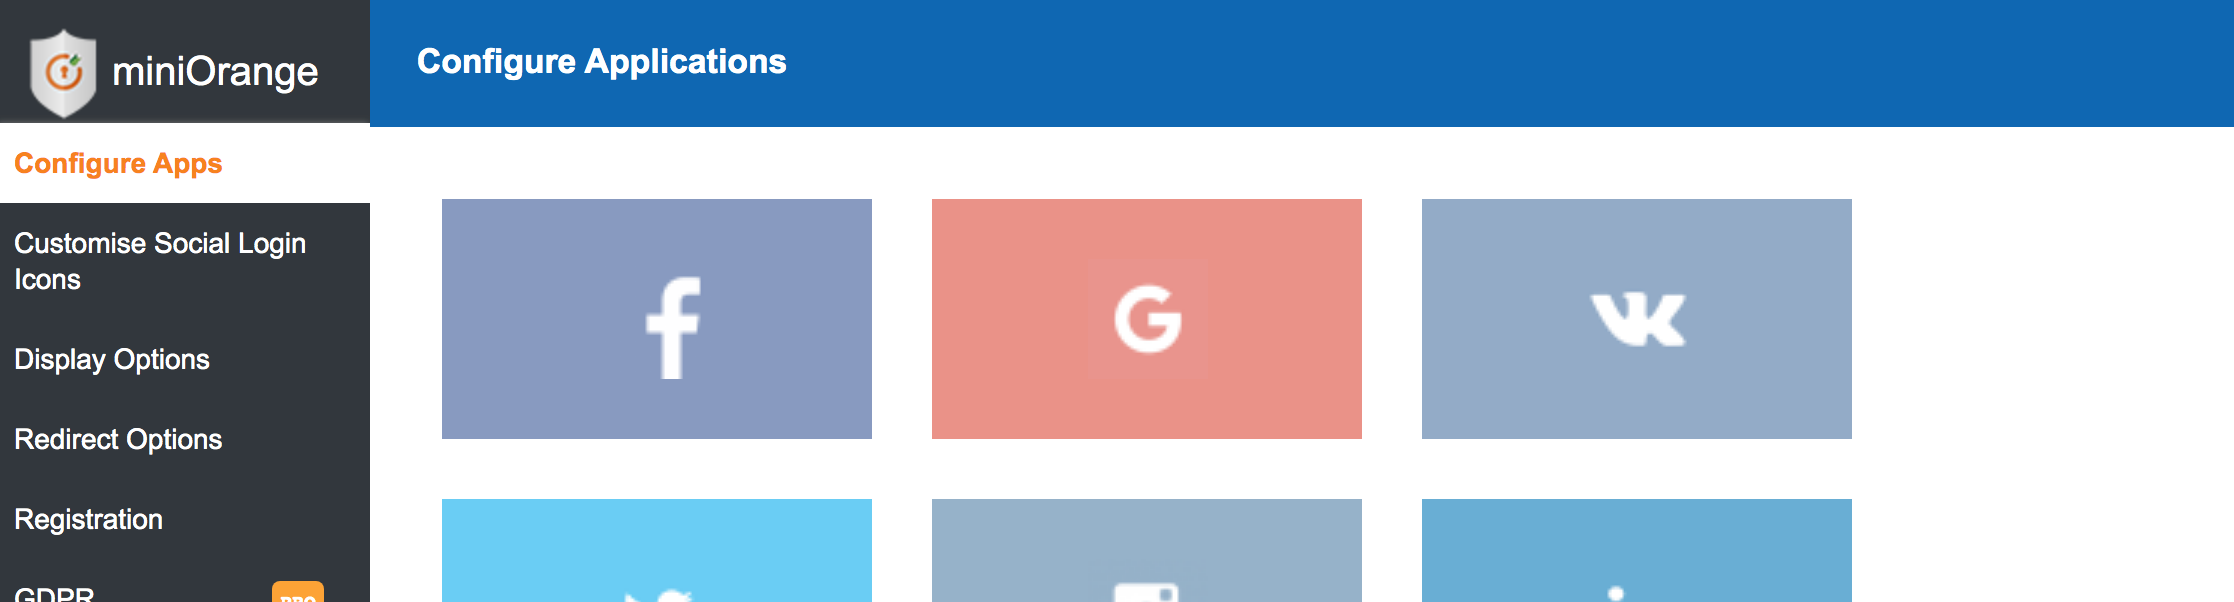
2. Setup Social Networks
- Go into Settings > miniOrange Social Login
- Enable Facebook, Google & Twitter
- Follow the Instructions
- Save Settings
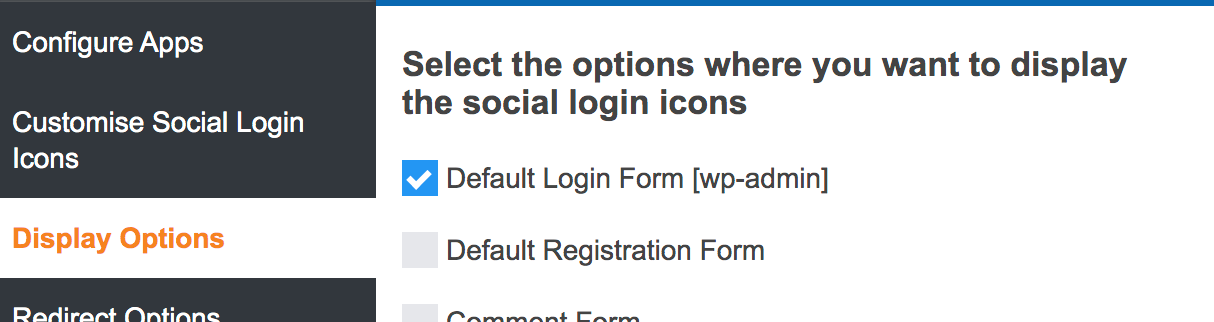
3. Display Options
- Click the “Display Options” tab
- Select “Default Login Form”
- Save Settings
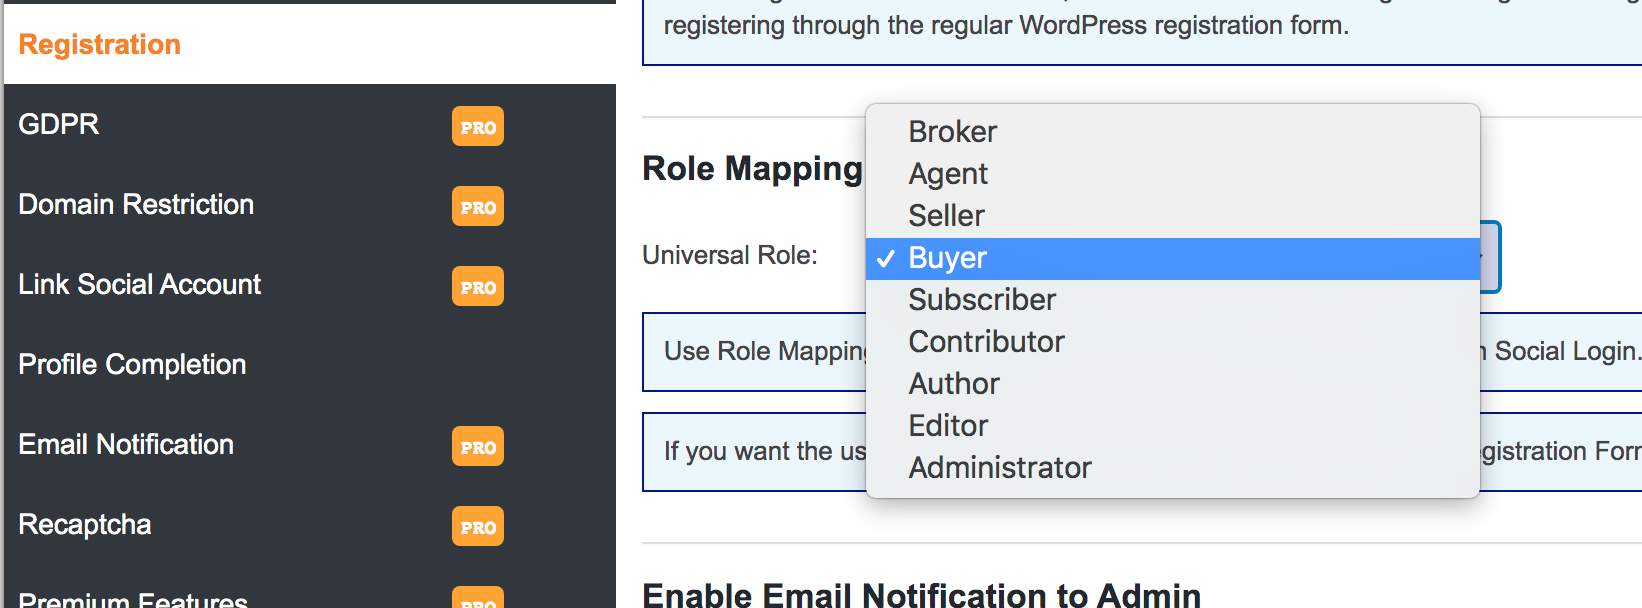
4. Registration Settings
- Click the “Registration” tab
- Find “Role Mapping”
- Set to “Buyer”
- Save Settings
- That’s it, you’re all set!